We’ll see you in there.
Connect to customize your food & drink discovery.
By signing up you agree to our Terms of Service and Privacy Policy.
Milk and Dark Chocolate Cookies
15 mins Prep Time
18 mins Cook Time

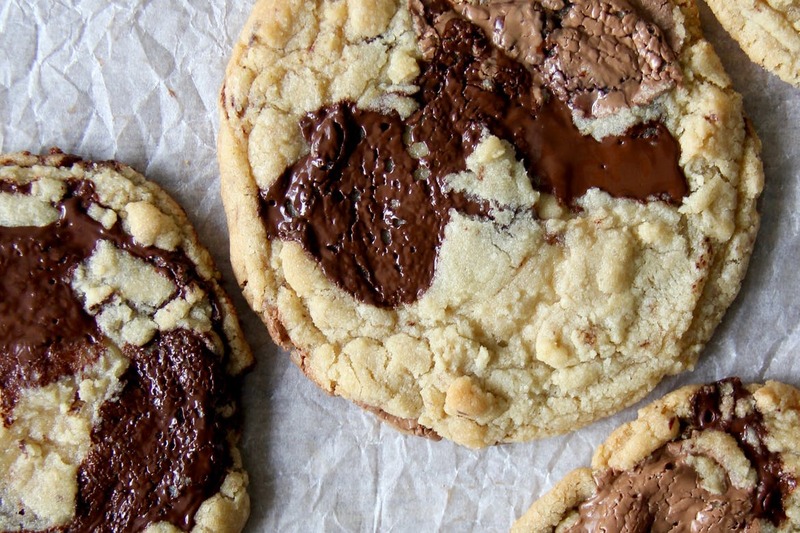
Are you looking for massive chewy chocolate chip cookies with perfect pools of milk and dark chocolate? Look no further because this recipe is everything you can want in a chocolate chip cookie recipe. Unlike other cookie recipes, this one does not involve overnight waiting times, so you can enjoy your cookies the same day you decide to make them. There is an overwhelming amount of cookie recipes out there with slight variations in ingredients, but this recipe has not disappointed me yet. Not to mention, they are beautiful to look at because of the huge pools of milk and dark chocolate. If you are looking for a new hobby to pick up this month to pass the time, why not try baking?
Directions
Milk and Dark Chocolate Cookies
7 Steps
Step 1
Preheat oven to 350°F. Line three baking sheets with aluminum foil, dull side up. This creates an extra-crisp, golden brown bottom.
Step 2
In a small bowl, whisk the flour, baking soda and salt.
Step 3
In the bowl of a stand mixer fitted with a paddle attachment, beat the butter on medium until creamy, about 2 minutes. Add the granulated sugar and brown sugar and beat on medium until light and fluffy, 2 to 3 minutes. Add eggs, vanilla and 3 tablespoons of water and mix on low to combine. Add the dry ingredients (flour, baking soda and salt) and mix on low until combined. Add the chocolate and mix until just dispersed.
Step 4
Form the dough into balls, 1/3 cup each. Place four balls an equal distance apart on prepared sheets and transfer to the freezer for 15 minutes before baking. After putting the first baking pan in the oven, put the second one in the freezer.
Step 5
Place the chilled baking pan in the oven and bake for 10 minutes, until the cookies are puffed slightly in the centre. Lift the side of the baking sheet up about 4″ from the oven rack and let it drop down against the rack, so the edges of the cookies set and the inside falls back down. (I find this noisy so when baking at night, I often remove the whole cookie tray and bang it on a napkin laid on the kitchen counter). The banging is not to create ridges but I find banging the cookies helps make the cookies more crinkly and flatten out.
Step 6
After the cookies puff up again in 2 minutes, repeat lifting and dropping the pan. Repeat a few more times (approximately 16-18 minutes total cook time) until the cookies have spread out and the edges are golden brown but the centres are much lighter and not fully cooked.
Step 7
Physically shape the cookies with a flat edge while they are still hot to try and keep them looking round.
Recommended For You