We’ll see you in there.
Connect to customize your food & drink discovery.
By signing up you agree to our Terms of Service and Privacy Policy.
Linzer Cookies
30 mins Prep Time
20 mins Cook Time

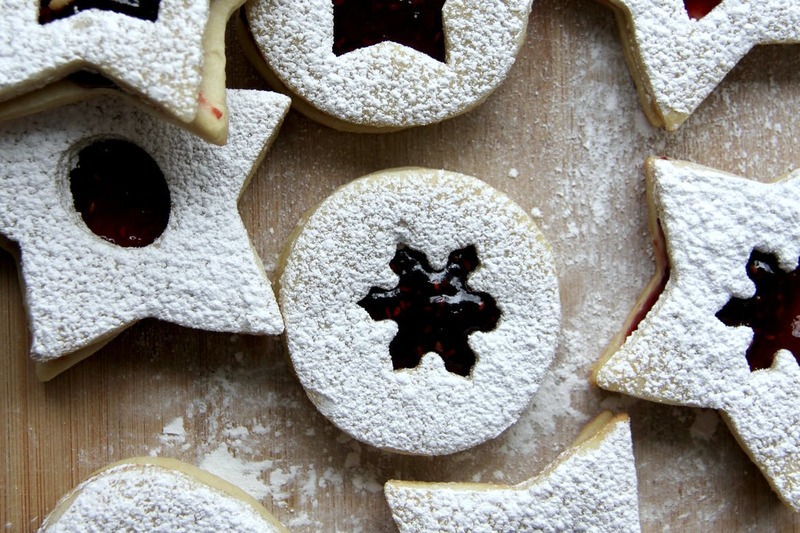
The origin of Linzer cookies are from Linz, Austria. Located in the north-central part of the country, it’s Austria’s third largest city. In Linz, bakers would mix up a batch of Linzer torte dough to make a pie but instead of making a pie, they would cut out shapes such as stars, circles or hearts. Half of the shapes would get second cutouts in the centre to create Linzer eyes. The cookies are dusted with a lot of powdered sugar and the jam preserves peek through the Linzer eye to make a beautiful picture-perfect dessert that are great for a holiday. Everyone's family has their favourite recipe, but I have used one published in the Daring Gourmet food blog. Rolled cookies can be time-consuming, but it's worth it. Check out this recipe and bookmark this when you start your holiday baking. If you use blanched almonds, you will achieve a light coloured cookie pictured above. If using unblanched almonds, your dough will be brown and will be equally delicious with a deeper nuttier flavour.
Directions
Linzer Cookies
11 Steps
Step 1
To toast the almonds: Preheat the oven to 350°F. Spread the nuts out on a cookie sheet, place them on the middle rack and toast for about 8-10 minutes, or until lightly browned and fragrant. Let the nuts cool completely and grind them in a food processor along with 1/4 cup of the sugar until finely ground.
Step 2
In a separate bowl, sift the flour, salt and cinnamon. Stir in the ground almonds.
Step 3
In a large mixing bowl, beat the butter until pale in color, add the sugar and beat until fluffy, and then add and beat the egg yolks, vanilla extract and lemon zest. Gradually beat the flour/nut mixture into the butter mixture. Divide the dough into quarters, wrap each piece with plastic wrap and refrigerate for at least an hour or up to 2 days.
Step 4
Preheat oven to 350°F. Line two baking sheets with parchment paper.
Step 5
Remove one piece of dough from the refrigerator at a time. Place the dough between two sheets of wax paper and roll it out to 1/4 inch thickness. Placing between wax paper makes rolling a lot easier and prevents sticking to the surface.
Step 6
Use 3"-inch cookie cutters (round, stars and heart-shaped are the most traditional) to cut out the cookies and place them on a lined or non-stick cookie sheet. Cut out a top for each cookie, using a smaller cookie cutter to cut out the centre so the raspberry preserves will be exposed. Repeat with the remaining pieces of dough.
Step 7
Gather up any scraps of dough, let them chill a few minutes, and cut out the remaining cookies. Note: It's important that the cookies remain firm so that they retain their shape. If the dough becomes soft, place the cookie sheet in the fridge for a few minutes to chill before baking.
Step 8
Bake the cookies for about 12 minutes or until just starting to turn golden around the edges. Let the cookies cool for a few minutes until transferring them to a wire rack to cool completely.
Step 9
When cooled, spread the bottom half of each cookie with some raspberry preserves, leaving a thin border around each cookie.
Step 10
For the top cookies sift powdered sugar on top to decorate. Place the top of each cookie on its corresponding bottom half. Use a spoon or piping bag to fill the cut out centre with a little more of the preserves.
Step 11
Store in an airtight container for up to several days.
Recommended For You